The DIY Headboard You All Wanted To Know About
Y’all saw this bedroom story up on the blog a few days ago, and some of you were keen enough to notice that YES, that is my bedroom. A secret mini reveal if you will. In order to keep sets safe, we’ve really scaled back on crew and locations. So when it came time to shoot Target’s new Casaluna bedding we decided a safe option would be using my practically empty bedroom as the location, and we kept the crew down to just Emily Bowser and myself (with Em checking in virtually and then popping by on the day of the actual shoot for a bit).
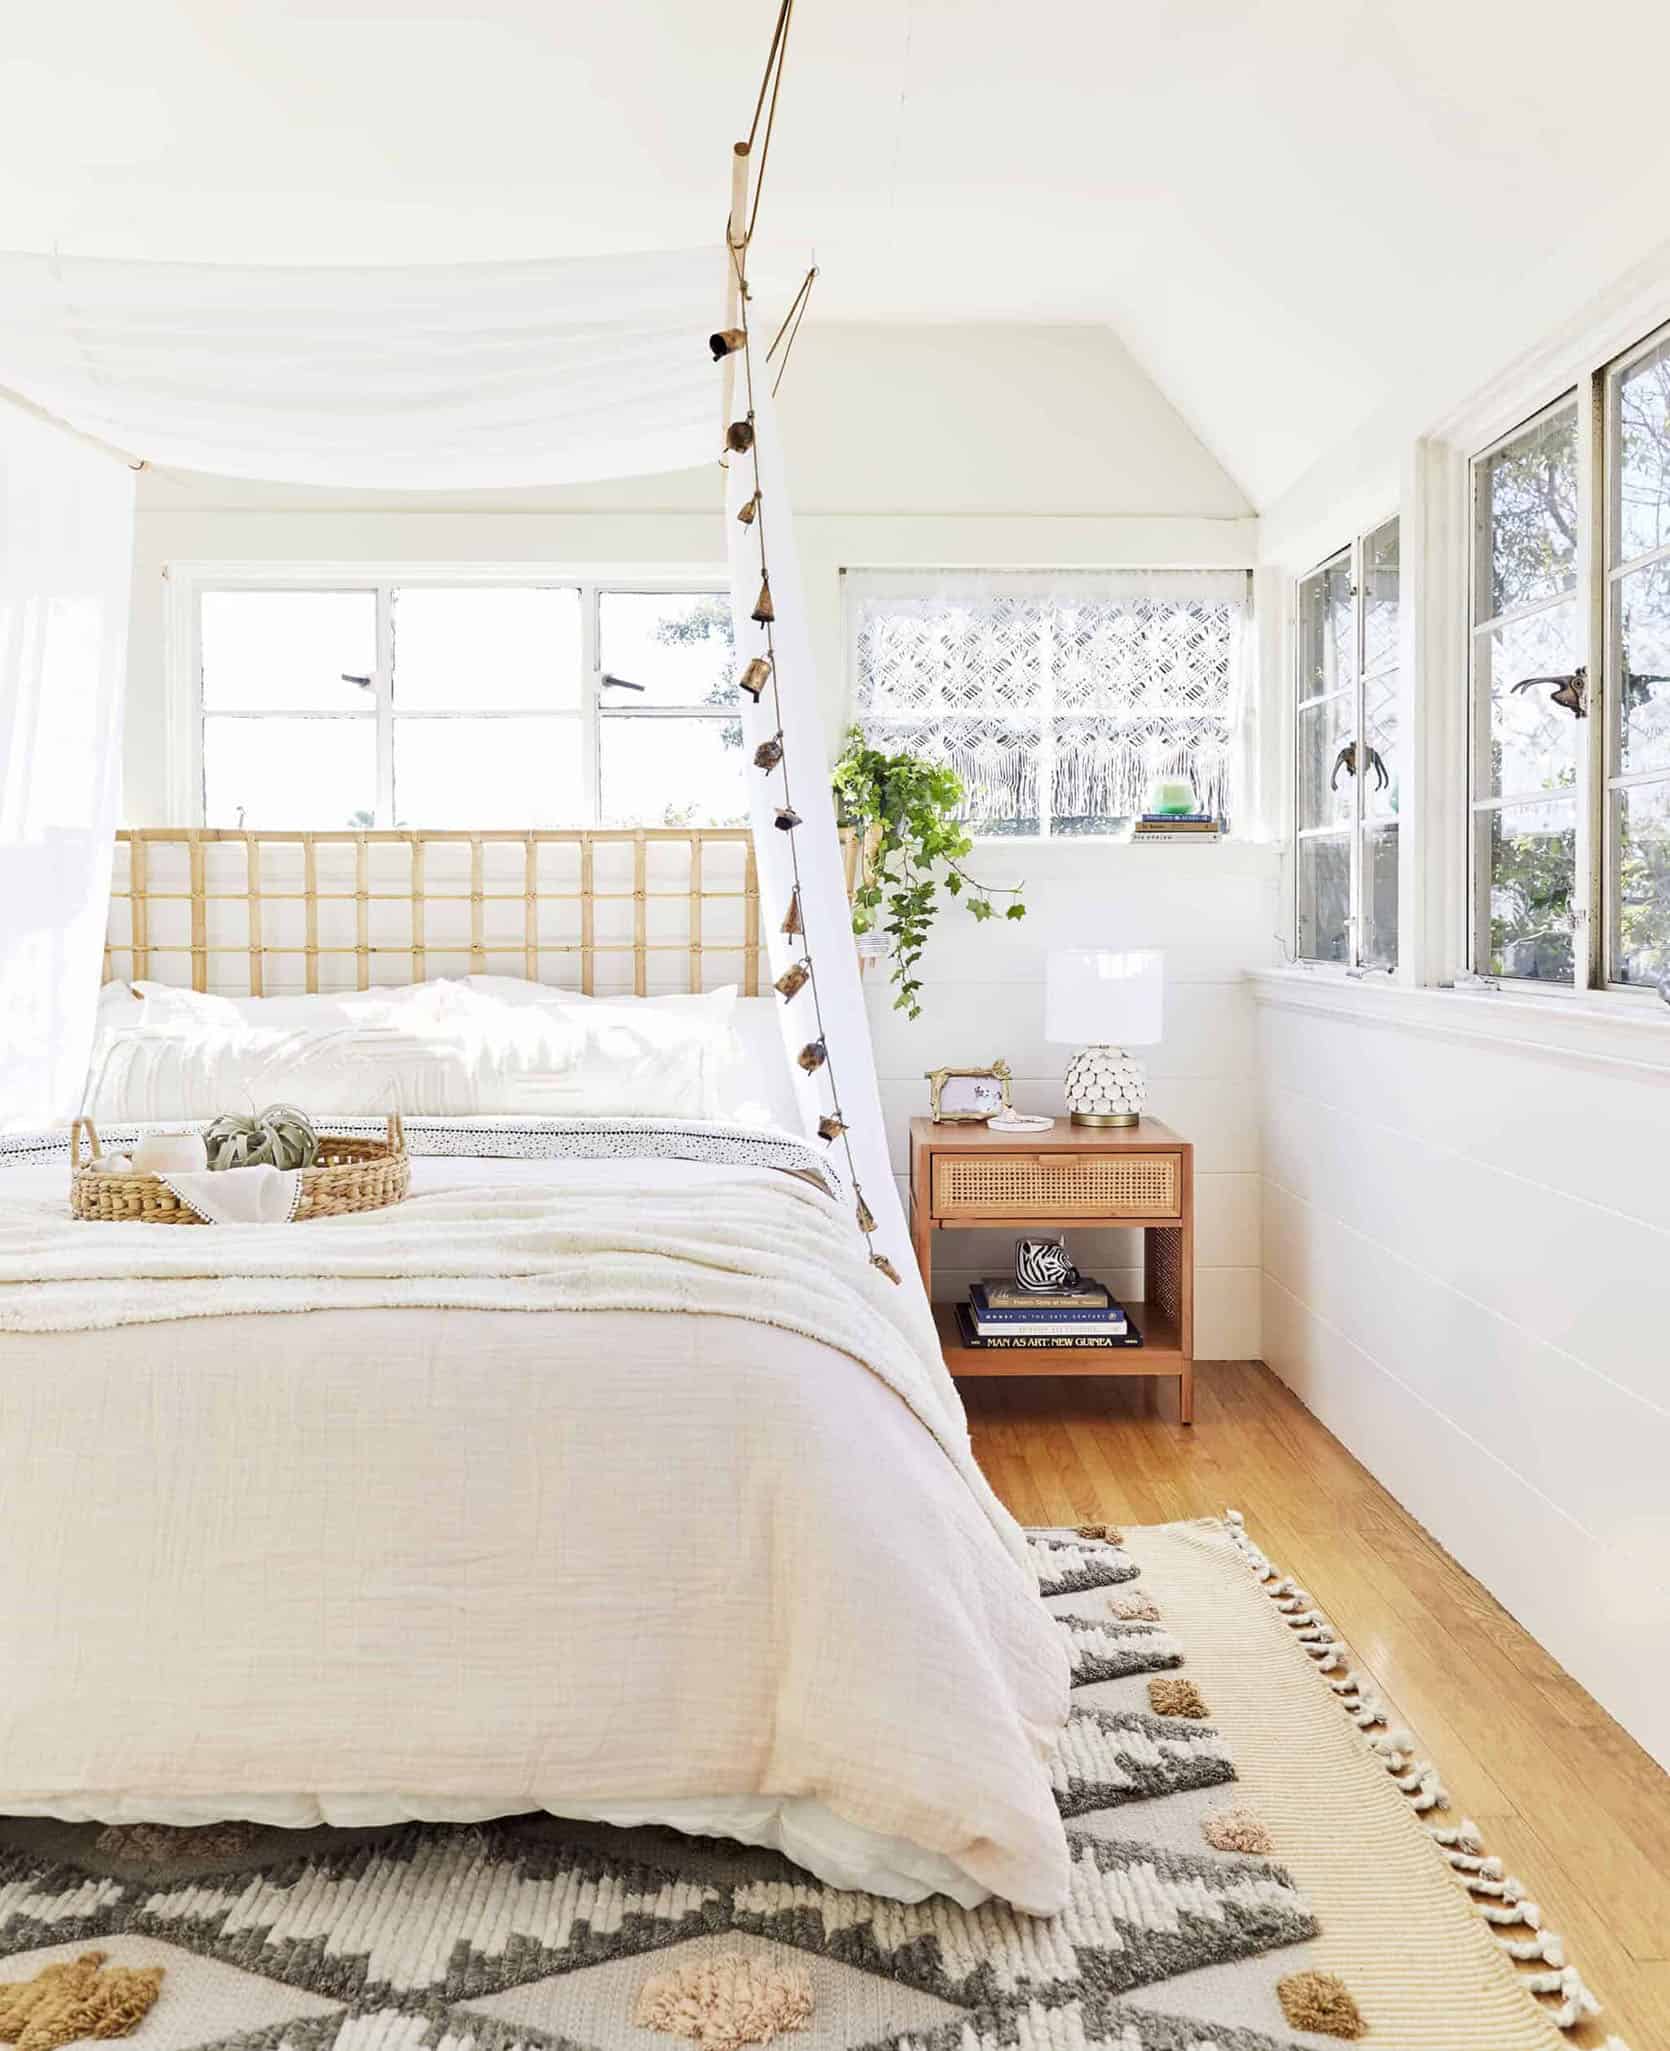
When it comes to building room sets that no one will actually live in, this wasn’t our first rodeo. One thing that we’ve found that makes these sets feel more unique, when there’s a lack of personal propping, is a good DIY. Take the DIY canopy idea from this bedroom story, or the ultra-cool gallery wall from this staged living room as examples (both of which were concepted and executed by Bowser and Julie).
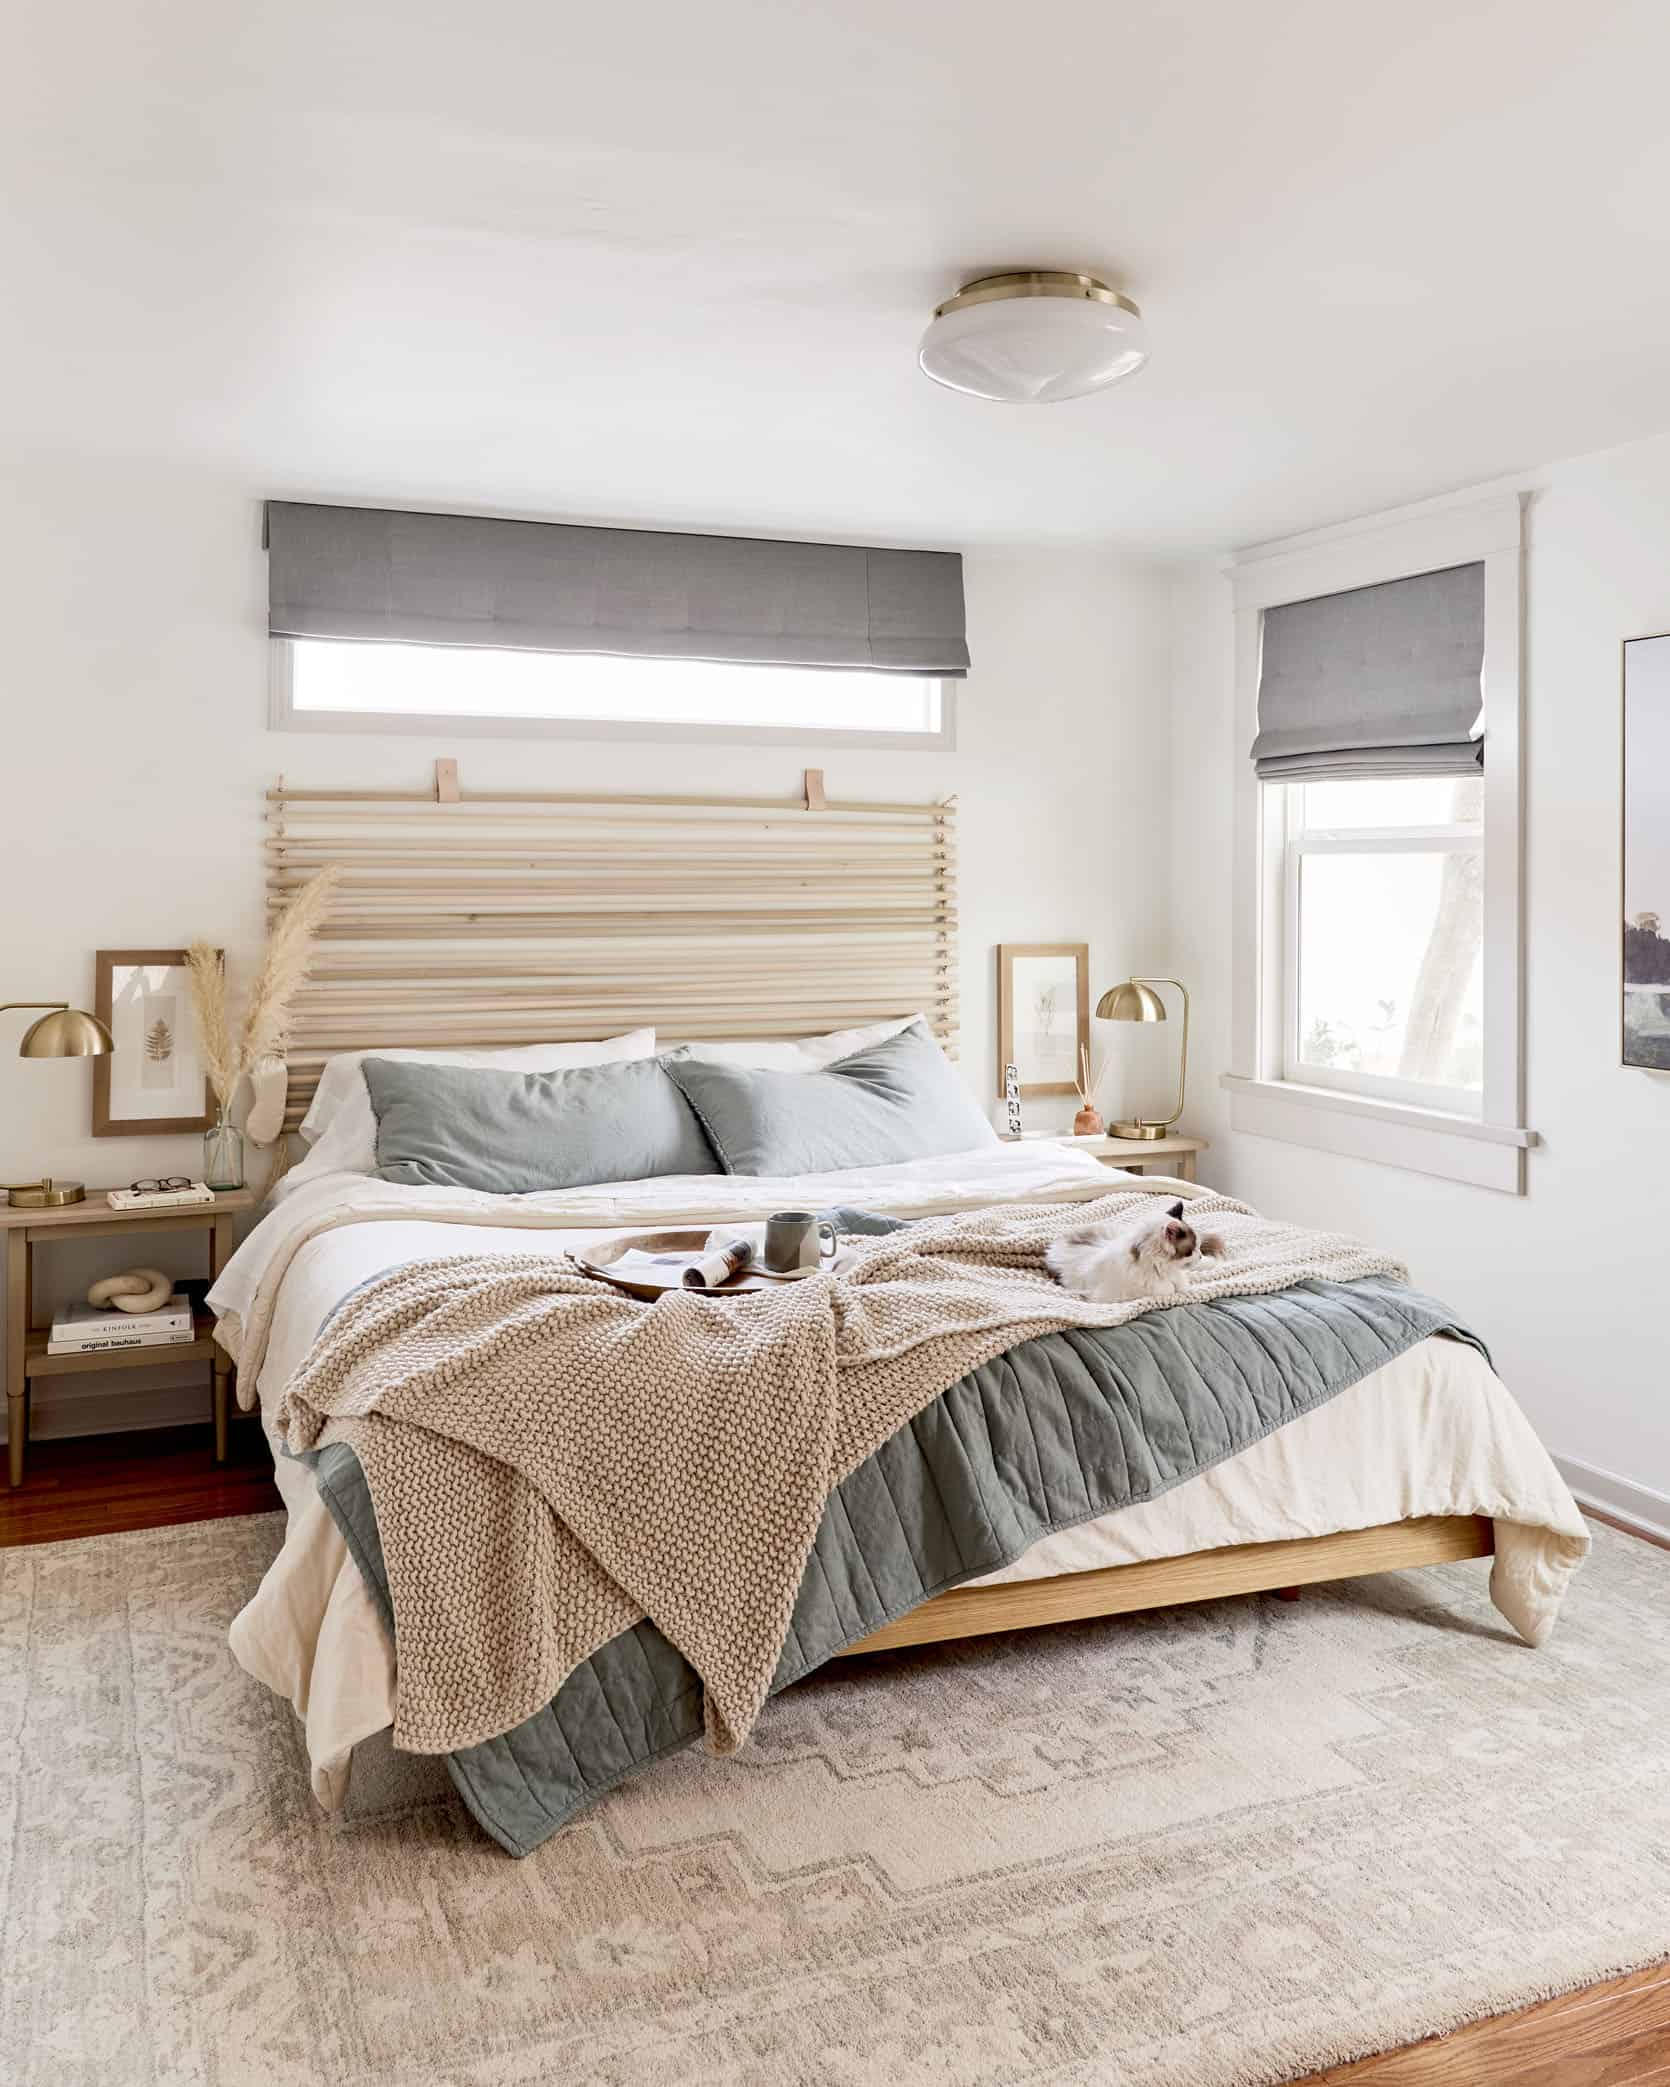
When we started brainstorming how to bring in some character to my blank slate of a bedroom, while keeping the styling minimal and bedding focused, we decided a simple DIY headboard would be the best option.
The room was already painted Sherwin William’s Greek Villa with Sherwin William’s Heron Plume as the trim, and already had these amazing stone-colored, blackout roman shades from Decorview installed (which look so pretty as a tone on tone with the painted window trim). Otherwise, we had very little going on in terms of design.

Hemp Sheet Set | Linen Shams | Comforter | Quilt | Throw | Side Table | Table Lamp | Tray | Reed Diffuser | Botanical Art | Bookends | Rug | Bed Frame
To start, in order to keep the story bedding focused, we decided that we need to opt for a bed frame that didn’t come with a built-in headboard. That way we could easily take headboard-less photos to pass along to our client, Target, for their use.
Our existing bed had a huge, solid wood headboard, so for the shoot we were going to have to swap it out. I saw this as an opportunity to accomplish a dream I’d had ever since upgrading to a queen bed . . . upgrading to a KING BED. My parents always had a California King bed, and we’d all pile in there to read, cuddle, and sleep when we were little. I have such good memories of growing up like that and knew that eventually, we’d want a king bed for our family too.

Mirror | Vase | Knot Object | Flushmount | Roman Shades | Wall Paint | Trim Paint
Enter Article’s Basi bed frame in Oak – a super clean, minimal, and headboard-less bed frame. I had actually originally ordered the bed frame in the darker Walnut color, but had to pivot due to shipping lead times. The lighter Oak color ended up working even better and turned out to be the perfect match for the pine headboard we made. Article actually has separate headboards your can order to go along with this bed frame, but buying a headboard-less frame allows you more creativity and customization with the headboard.
A bigger bed frame meant we needed a bigger mattress. After laying on both Julie and Bowser’s Tuft & Needle mattresses while shooting their bedrooms, I knew that when Mac and I DID eventually upgrade from a queen bed to a king bed, we wanted one of those mattresses to sleep on. Months ago Mac and I had gone to the Tuft & Needle store at the Americana in Glendale and tried out all the different kinds, settling on their Hybrid mattress. It’s both supportive, and soft, and absorbs my constant moving so much better than our old Ikea mattress.

AND NOW WE FINALLY HAVE A KING BED. It’s a luxury for sure, but one that 6’1″ Mac, our two cats who sleep with us every night but refuse to touch each other, and myself who likes to move A LOT in order to get comfortable each night, all really appreciate. And we were able to pass along our queen bed frame and mattress to my brother, Shade, who had just recently moved into his own apartment and, at 26, was ready for something bigger than a twin.
That was a really long tangent, but one that I was passionate about, haha. BACK TO THE HEADBOARD.
I originally sent Bowser a few different DIY ideas for cane headboards (like this one). But she did me one better and modified a concept for a DIY dowel headboard. Her inspiration came from a DIY wood dowel floor mat for a mudroom. We figured out all the measurements on the first day of install, had Shade do all the dowel prep, and then we put the rest of it together in an hour on the second day of install.
The end result? A super unique, beautiful, and customizable headboard that we still have up in our bedroom right now.
WHAT YOU’LL NEED:
- 15-20, 1″ diameter Wood Dowels
- A saw of some sort to cut your dowels to size
- Access to a press drill
- Rope or leather to hang the dowels from
- Leather straps
- Leather punch
- Nails (preferably gold or brass)
DIY WOOD DOWEL HEADBOARD

Ok, now for the part you really came for, the step-by-step how-to for this DIY wood dowel headboard.
STEP ONE: MEASURE FOR YOUR DOWELS
For our headboard, we used 1″ diameter round dowels. At the Home Depot., where Shade shopped for dowels the longest size they came in was 10ft. We wanted the headboard to be just a little bigger than the bed frame (which is 79 inches wide), so we bought nineteen 10ft (120 inches) dowels and cut them down to 81 inches. You can use a hand saw, a table saw, or like Shade, improvise and use a tile saw, because he didn’t have anything else on hand. They may even cut the dowels for you at Home Depot.
STEP TWO: DRILL HOLES IN YOUR DOWELS
Shade then used a press drill to drill holes in either end of the dowels, 1.5″ in from the ends. Make sure that your holes face the same direction since you’ll be stringing them from ropes on either end. It would be a bummer to have one hole on the dowel drilled vertically, while the hole on the other end was drilled horizontally. This was something Bowser and I didn’t consider, but luckily Shade did.
STEP THREE: SAND YOUR DOWELS

Cutting them and drilling into them will create little splinters all along your dowels. Smooth these out by quickly running a piece of fine grit sandpaper over them.
STEP FOUR (OPTIONAL): STAIN, OIL, OR PAINT YOUR DOWELS
We choose to keep our dowels as-is, in the natural pine color and finish that they came in. But staining them a darker walnut color, oiling them, or painting them is definitely an easy way to customize the headboard to whatever style you want for your bedroom.
STEP FIVE: STRING TOGETHER YOUR DOWELS
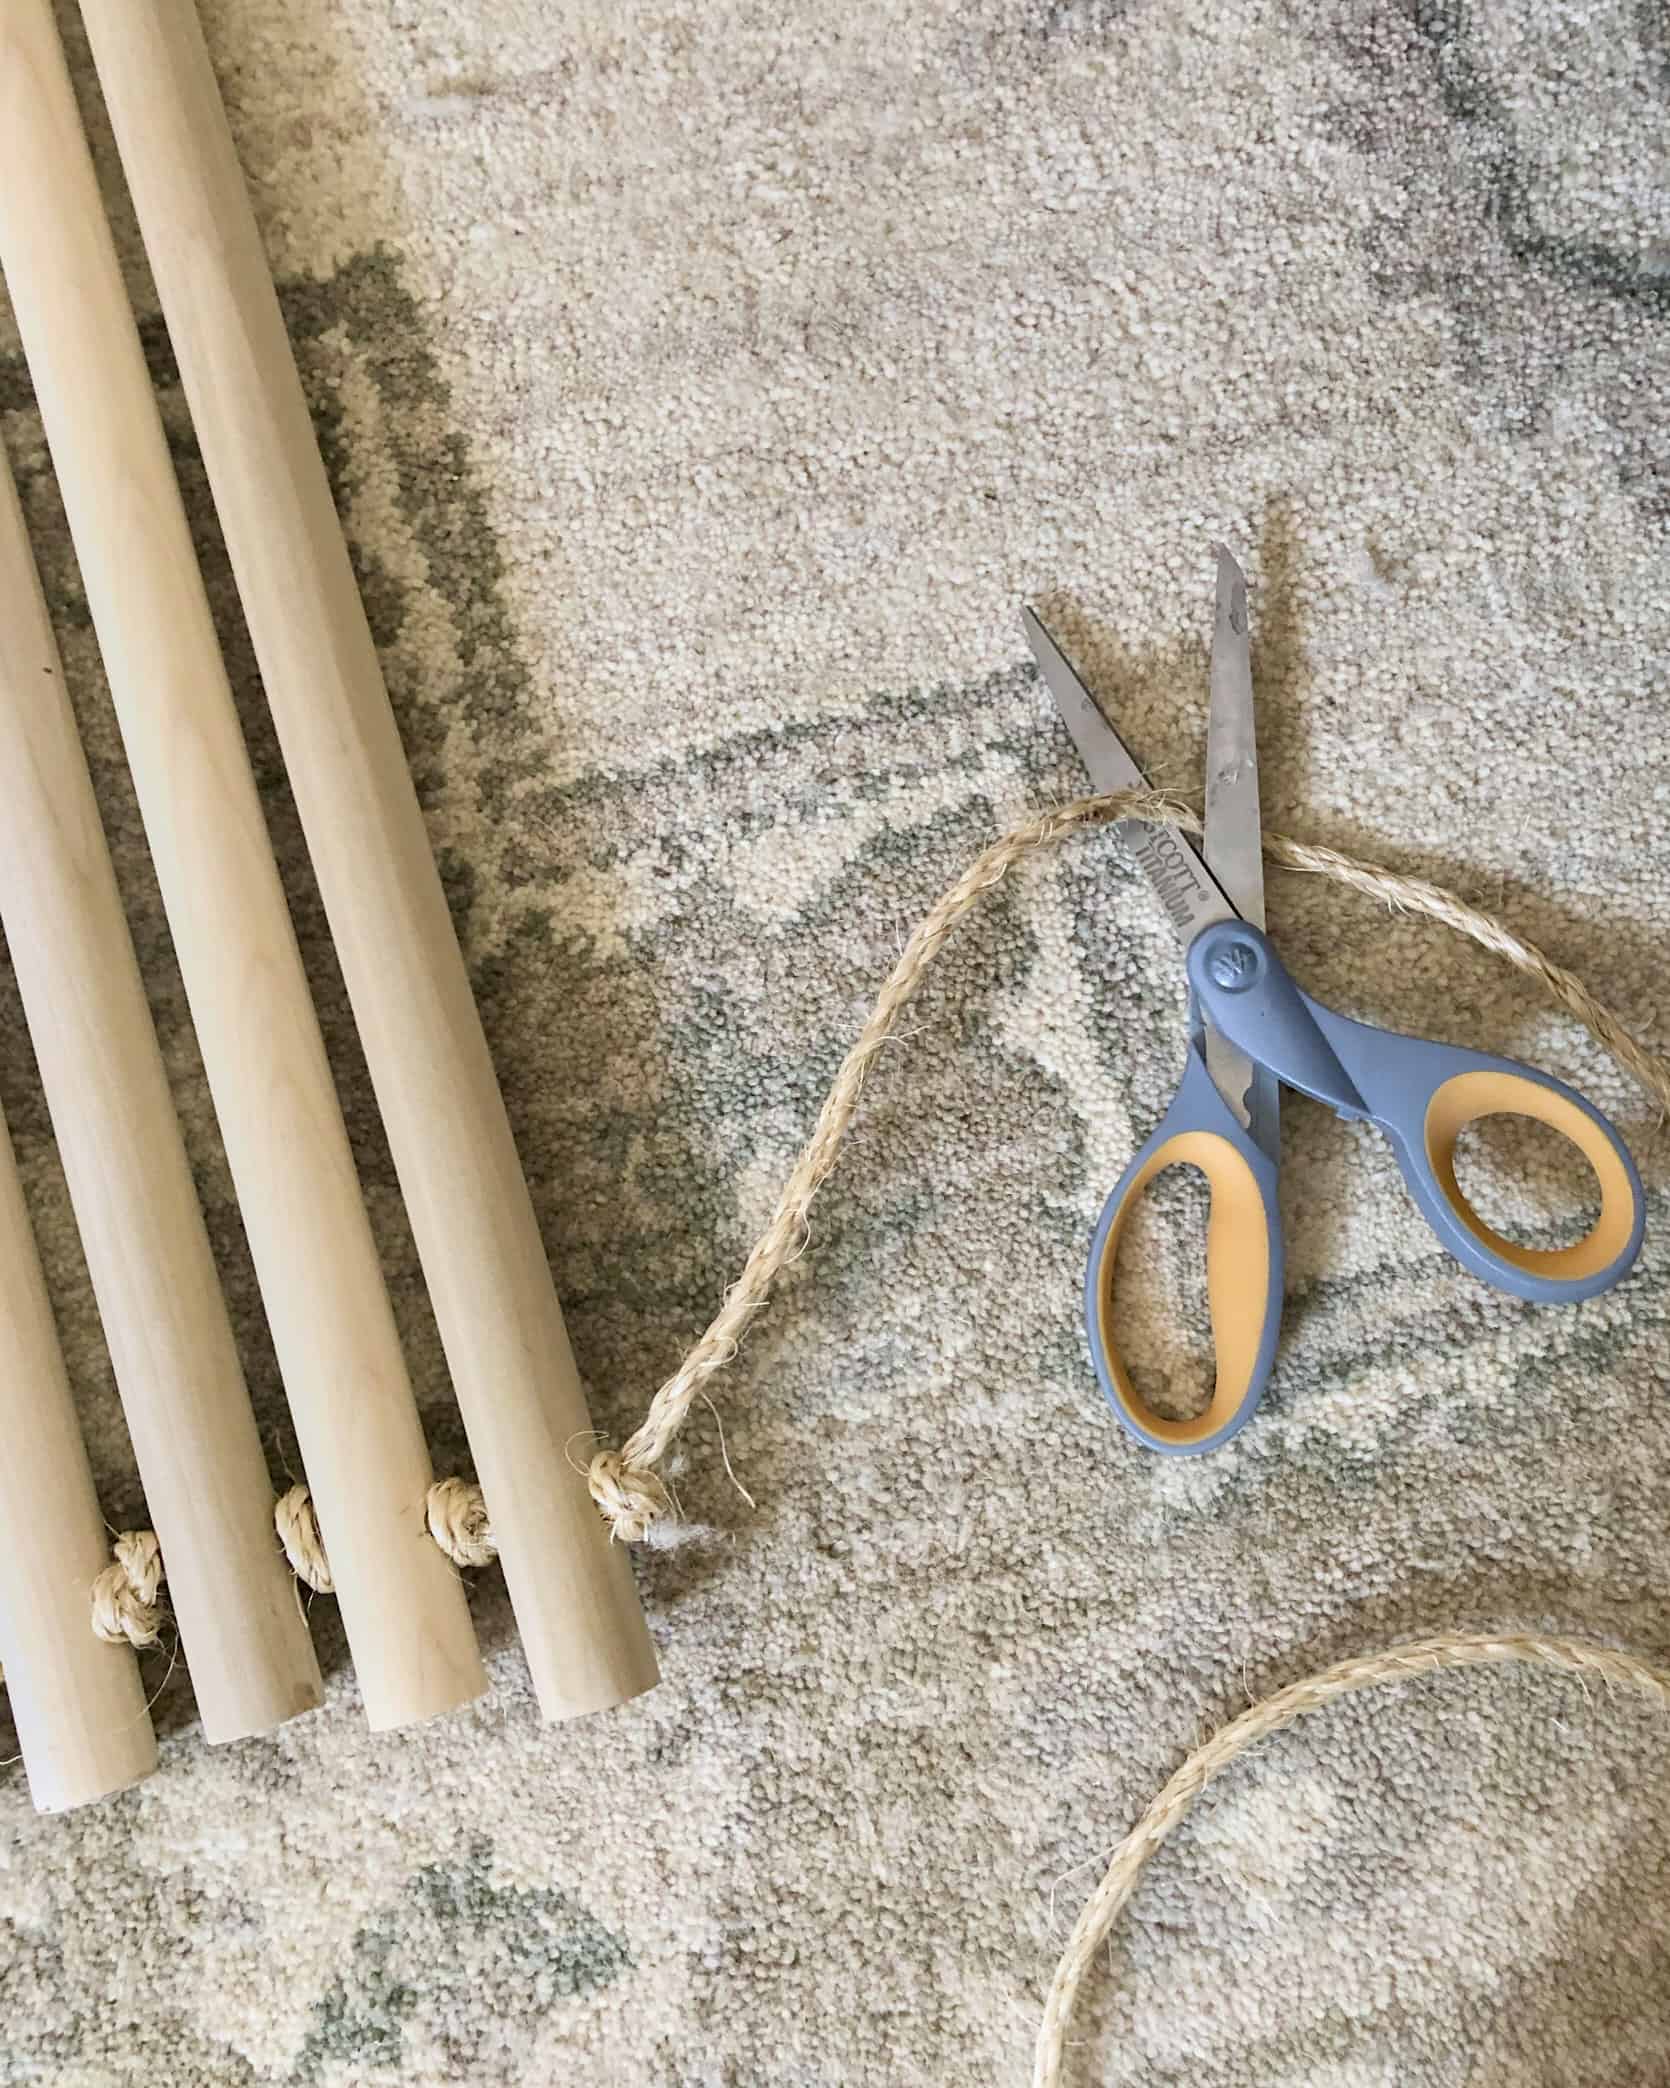
This is another step where you can customize your headboard. We choose to use a rough sisal rope to tie together all our dowels. But you could go with a smoother hemp rope, a white cotton cord, or even a leather rope.
Bowser strung together the dowels one side at a time, using a little piece of cut rope to measure how far between each dowel she tied a new knot, so that it was roughly the same each time. She left a long tail at the end of the bottom dowel that we frayed, aesthetically of course.

Hot Tip
If your rope is unruly, you can tape the end of it to make it easier to get through the holes of your dowels.
STEP SIX: MAKE YOUR LEATHER STRAPS

First I’ll say that this headboard did get HEAVY. You don’t think wood dowels are gonna add up, but they do. So we used a stud finder to figure out where the studs were in the wall behind the bed, so we wouldn’t have to use drywall anchors. Once we figure out there were just two, we decided on having two leather straps to hold up the headboard, which we’d nail directly into the studs.
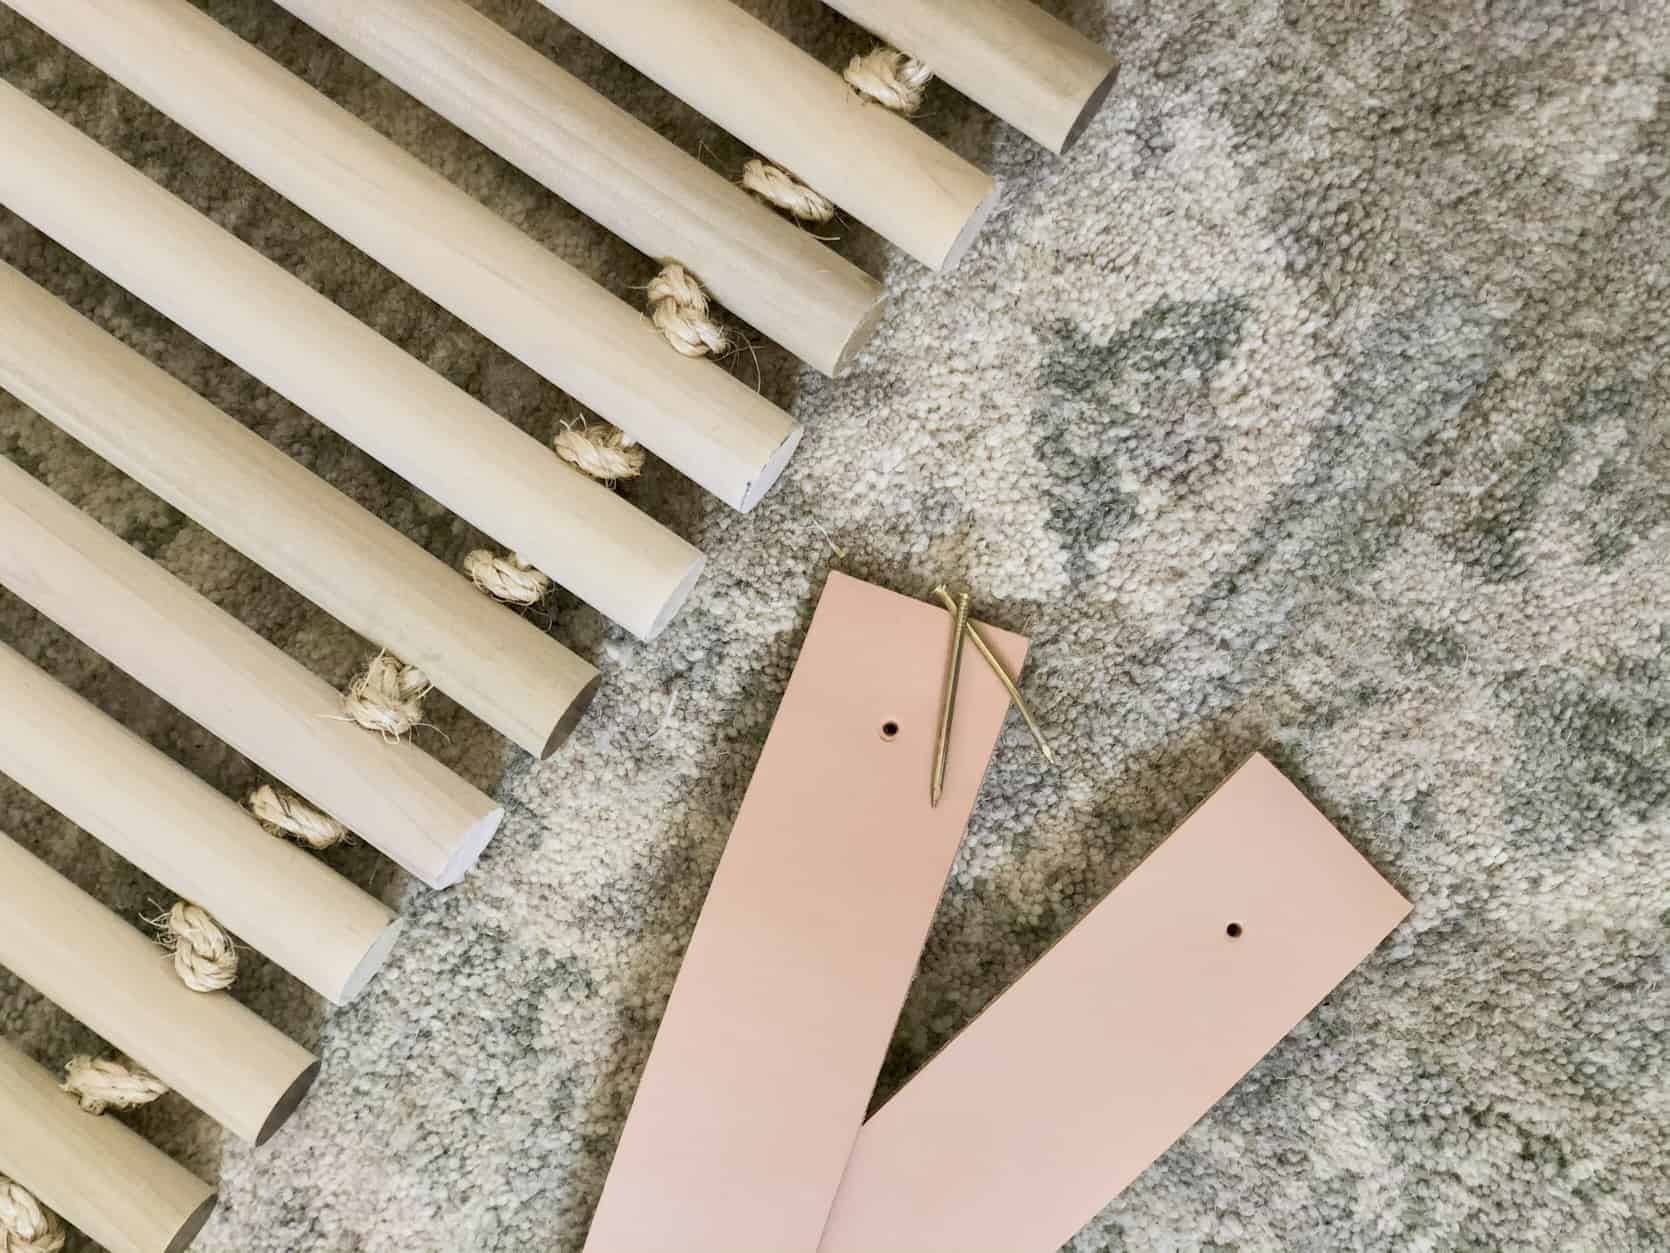
Bowser cut two pieces of leather strap she had from a leftover project, folded them over to create a loop, and using a leather hole punch she pierced holes into both of them for the nail to pass through.
STEP SEVEN: HANG YOUR HEADBOARD

This part is a two-person job. Measure where you want your straps nailed in and put those penciled dots up on the wall. Then, have one person hold up the headboard, while the other person loops the leather straps around the top dowel, passes the nail through the holes, and hammers the strap into the wall.
Then gently let your headboard hang to see where it needs to be adjusted or supported. You should be able to slide your headboard around on the leather straps, once they’re nailed in, to get it perfectly centered.
We also found that the headboard was putting a lot of strain on the top dowel, so we hammered in a small gold nail behind a rope knot on either side of the headboard a few dowels down and let a lower dowel rest on the nails to help take some of the strain off the top dowel.

AND THAT’S IT! All in all the headboard cost us about $120, most of that being the wood dowels, and took about 3 hours start to finish. Bowser is super tempted to start taking orders for these, because it turned out so well, and if I didn’t already have an original Bowser headboard I would be her first customer. Also, do you remember the one she made for her primary bedroom????
If anyone makes a dowel headboard of their own don’t forget to tag us (my Instagram, Bowser’s Instagram) so we can see!
**Photos by Sara Ligorria-Tramp (ME!) | Styled by Emily Bowser


Leave a comment